




Keeping Your Gazebo Warm Without the Headache
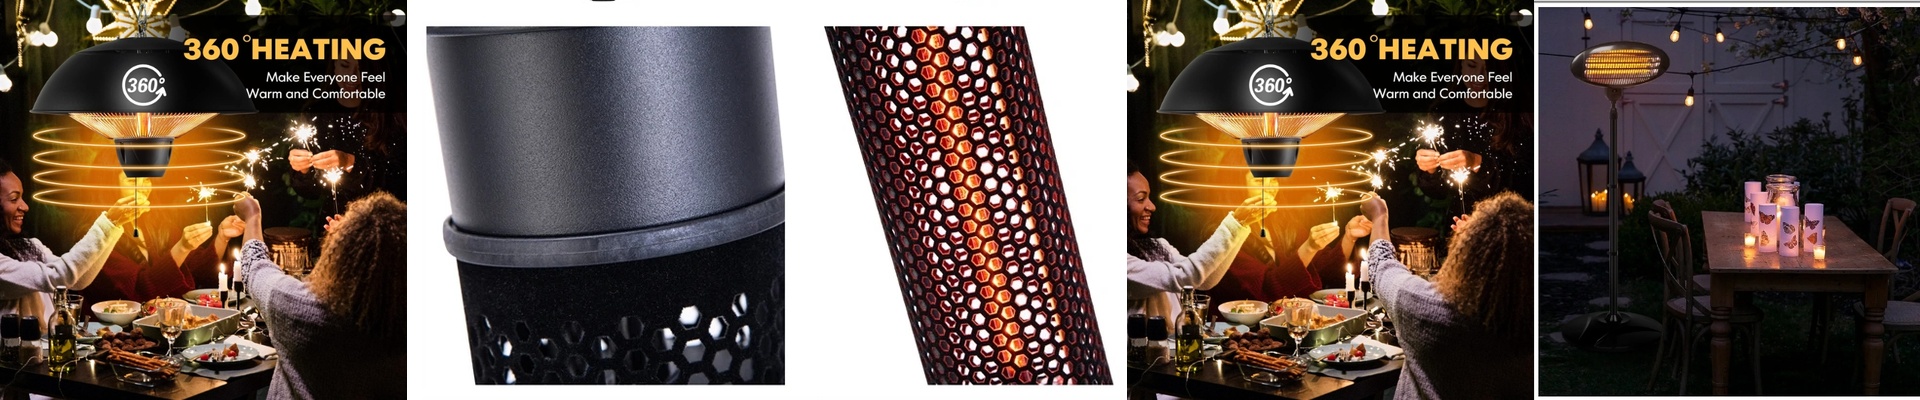
Let’s be honest: gazebos are tricky. They aren’t quite “inside,” but they aren’t fully “outside” either. That middle ground is where most heaters go to die. Between the humidity, the morning mist, and the occasional splash of rain, the elements just eat through standard electronics. We’ve seen it happen a hundred times. You buy a heater, it feels great for a month, and then—pop—the circuitry shorts out because a little moisture got where it shouldn’t. We decided to fix that. Instead of just slapping a standard heater on a ceiling, we built these 1500W units with a chassis that actually hates water. We used gaskets and hydrophobic coatings, which is just a fancy way of saying the water beads up and rolls right off. It keeps the condensation away from the electrical terminals so you aren’t dealing with rust or corrosion by next season. As for the heat? 1500W is the sweet spot. Since gazebos are open to the breeze, trying to heat the air is a losing battle. The wind just carries the warmth away. That’s why we use shortwave infrared. It doesn’t bother with the air; it beams the heat directly onto you. It’s that instant, cozy feeling the second you flip the switch. A couple of things to keep in mind before you install them. First, watch your power. 1500W per unit adds up fast. If you decide to line your ceiling with four or five of these on one circuit, you’re probably going to trip your breaker. Just double-check your electrical load so you don’t spend your evening in the dark. Also, a quick reality check: these are splash-proof, not waterproof. They can handle the mist and the damp air, but they aren’t diving bells. Make sure they’re tucked under a solid roof so they don’t take a direct hit from a heavy downpour. At the end of the day, we just wanted to make something that lasts. No more worrying every time the humidity spikes. Just a warm spot to hang out, regardless of the weather.