Fixing Those Pesky Cold Spots in Glass Annealing
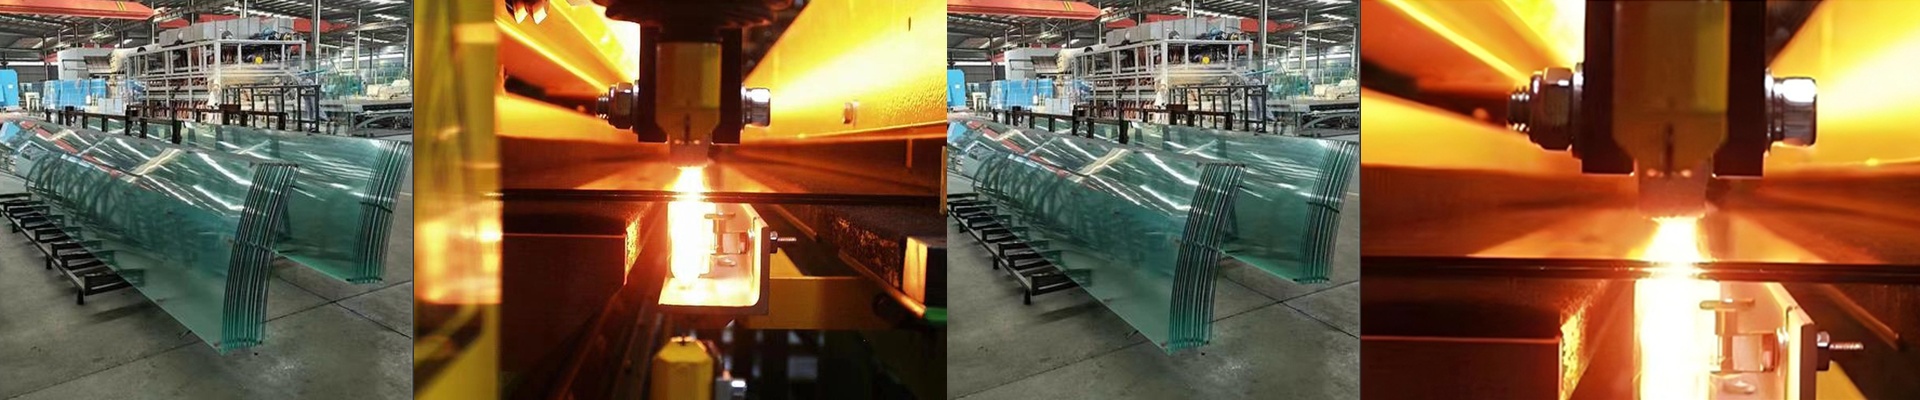
If you’ve ever worked with glassware kilns, you know the frustration of “dead zones.” It’s a nightmare. You think the whole piece is heating up, but then you find out the narrow necks or weird corners never actually hit the right temperature. The problem is that standard convection heating is kind of lazy. Air just doesn’t like to squeeze into tight gaps. That’s where shortwave infrared (IR) lamps come in. Instead of hoping the air carries the heat, IR radiation just shoots straight through. It hits the glass directly, making sure the core of the vessel actually gets hot enough to soak properly. No more guessing games.
Dealing with Weird Shapes
You can’t just throw one lamp in there and call it a day. To handle a complex piece of glass, we use arrays of quartz halogen lamps. We overlap their patterns so the heat blankets the whole thing. By tweaking the angles, we can kill off those annoying cold spots that usually hide in the shoulders or the base. But here’s the catch: you need high wattage to keep that annealing point steady. If you try to jam too much power into a short tube without proper venting, you’re just asking for a burnout. It’s all a balancing act between how much power you need and how long the tube is so you don’t melt the quartz envelope.
The Nitty-Gritty Hardware
We usually stick with R7s or SK15 connectors. Why? Because they’re simple. Your maintenance crew can just pop out a burnt tube and slide in a new one without having to rewire the whole rack. It saves a ton of time. We use quartz glass for the lamps because it lets the shortwave IR pass right through. More energy hits the glass you’re actually trying to heat, and less of it is wasted warming up the kiln walls.
The Trade-offs
Now, IR is fast. Really fast. But it can be a bit aggressive. If you put the lamps too close, you’ll end up with localized hot spots. That’s a recipe for thermal shock and a lot of cracked glass. You have to spend some time tuning the distance and the power controller’s duty cycle to get the temperature smooth across the whole piece. And a quick tip: make sure your PID controllers can react fast. If they’re sluggish, you’ll overshoot your target during the soaking phase, and that’s where things go wrong.